To add a “Speak” button to the top of every Word window:
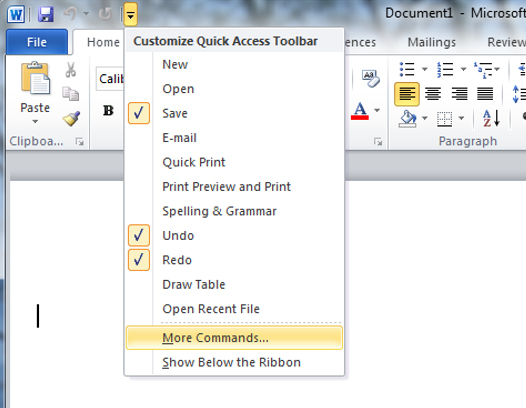
Above the ribbon you should see a small toolbar, by default containing only the Save, Undo and Redo buttons. This is called the Quick Access Toolbar, and you can add more buttons to it – including one for speaking highlighted text.
Step 1: Click the arrow to the right of the toolbar to get started:
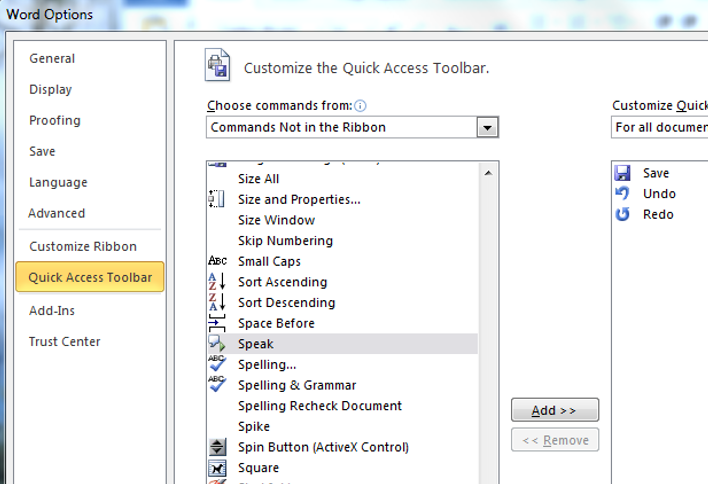
Step 2: Click the “More Commands” button to begin exploring the vast world of Microsoft Word functions. Explore the “Commands Not in the Ribbon” section and you’ll find the “Speak” option:
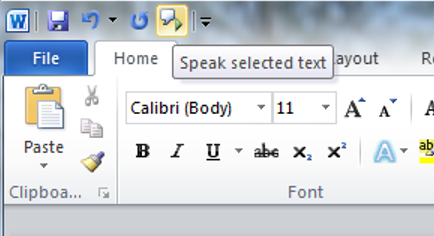
Step 3: Click the “Add” button between the two columns, then click “Okay”. There is now a “Speak” button in your Quick Access Toolbar:
Step 4: Select a word, highlight a block of text or CTRL+A to highlight your entire document
Step 5: Click Speak in the ribbon.
Step 6: Click Speak again to stop the playback.
Note:Speak is disabled until you select text whose editing language matches one of your installed TTS engines.